How to host a highly scalable ghost publication for free
• public
TL;DR: Spin up a local container running Ghost, crawl the frontend to generate a static site, and upload to a free static host.
While there's quite a few options for statically hosting written content for free, most of these involve using markdown as your writing interface. While this is fine, I'd prefer the block-based rich editor offered by Ghost.
Ghost Pro's pricing is quite reasonable and a good option if you want to take advantage of all that Ghost has to offer. But if you just want a personal site without members, I've found the best option is to run Ghost locally, and upload the rendered pages to a free static web hosting service. This tutorial will show you how.
Limitations
[Skip this part if you don't care about the limitations and just want to get to the tutorial].
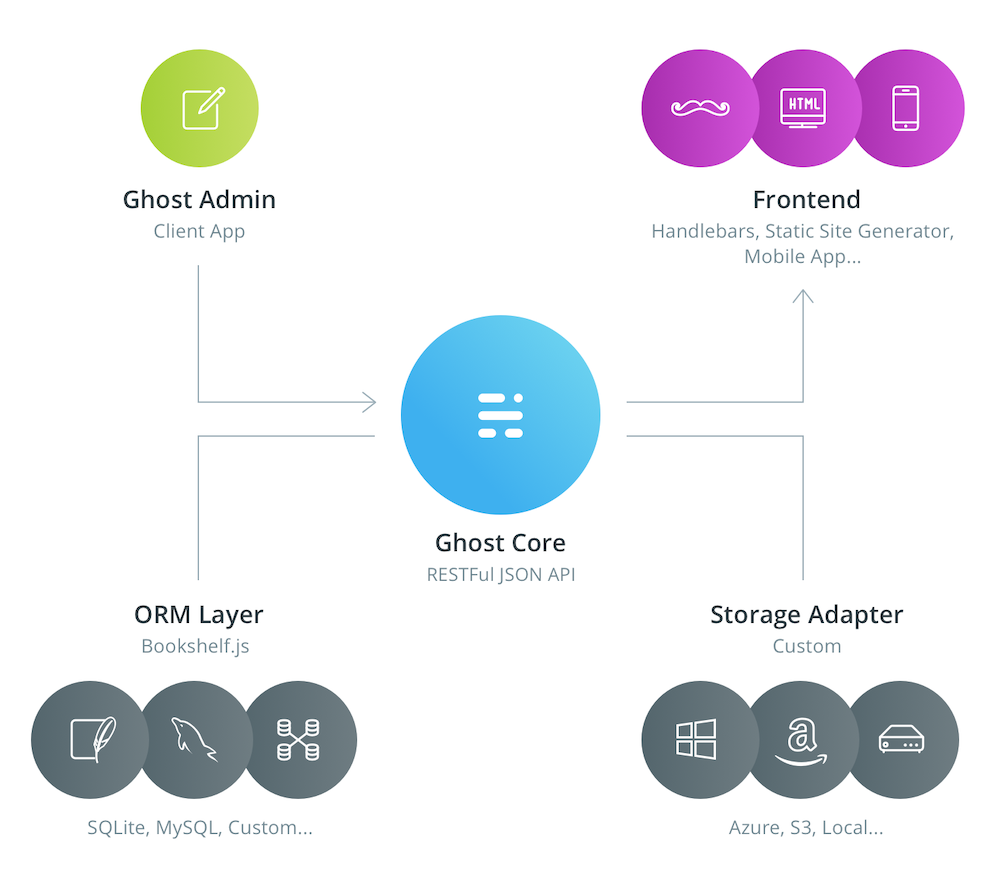
It's important to understand a little about how Ghost works. The backend keeps state in a SQL database, and is accessed by a JSON API. Assets, such as images, themes or logs are kept in 'storage', which can be on the filesystem of the server, in an S3-like object storage service, or in a container volume/mount. The other part of Ghost is the frontend, which out of the box is a theming system that uses handlebars.

Generating static HTML files from your locally running Ghost instance works for quite a few use cases, but clearly not for anything dynamic. For instance readers won't be able to sign up to your newsletter, as there won't be any server to handle the request. The following features won't work:
- Newsletters;
- Memberships;
- Post embargos;
- Easy collaboration with others;
- Anything else that requires clients to make a request other than for HTML/CSS.
Tutorial
How to run Ghost locally
I run my Ghost instance using Docker, which means it's easy to update and is isolated from my OS.
If you haven't got it already, you'll need to install Docker.
To pull down the latest Ghost image, run docker pull ghost
You'll now need to set up a folder where you can keep your Ghost content, this is things like images, themes, and your SQLite database. For instance: /Users/steve/stuff/ghost-content
Now, to run the Ghost container, execute the following, but substitute my-blog with whatever you want to call your container (doesn't really matter what), and /Users/steve/stuff/ghost-content with the location of your content folder that you created in the previous step.
docker run -d --name my-blog -e url=http://localhost:3002 -p 3002:2368 -v '/Users/steve/stuff/ghost-content':/var/lib/ghost/content ghostYou should find that Ghost has populated your content folder with stuff:

Now, if you head to http://localhost:3002, you should see that your publication is running! (You may need to wait ~1 minute if the container is still spinning up).

If you head to http://localhost:3002/ghost, this will display the admin page where you can set up your publication.
Generating the static site
Now that you have Ghost running on your machine, you'll need to crawl the site to fetch the HTML files. For this I'd recommend Mr Mo's Ghost Static Site Generator, (GSSG) which usefully does this job for us. Thanks Mr Mo.
Follow the instructions on the GSSG readme to install it.
Next, you'll need to create a folder that you want to store your static site in. Let's call it /Users/steve/stuff/ghost-static for now.
From your ghost-static folder, run the following command. You'll need to change the --dest to path of the folder you just created, and the --url from yourdomain.com to the actual domain you intend on hosting the site at:
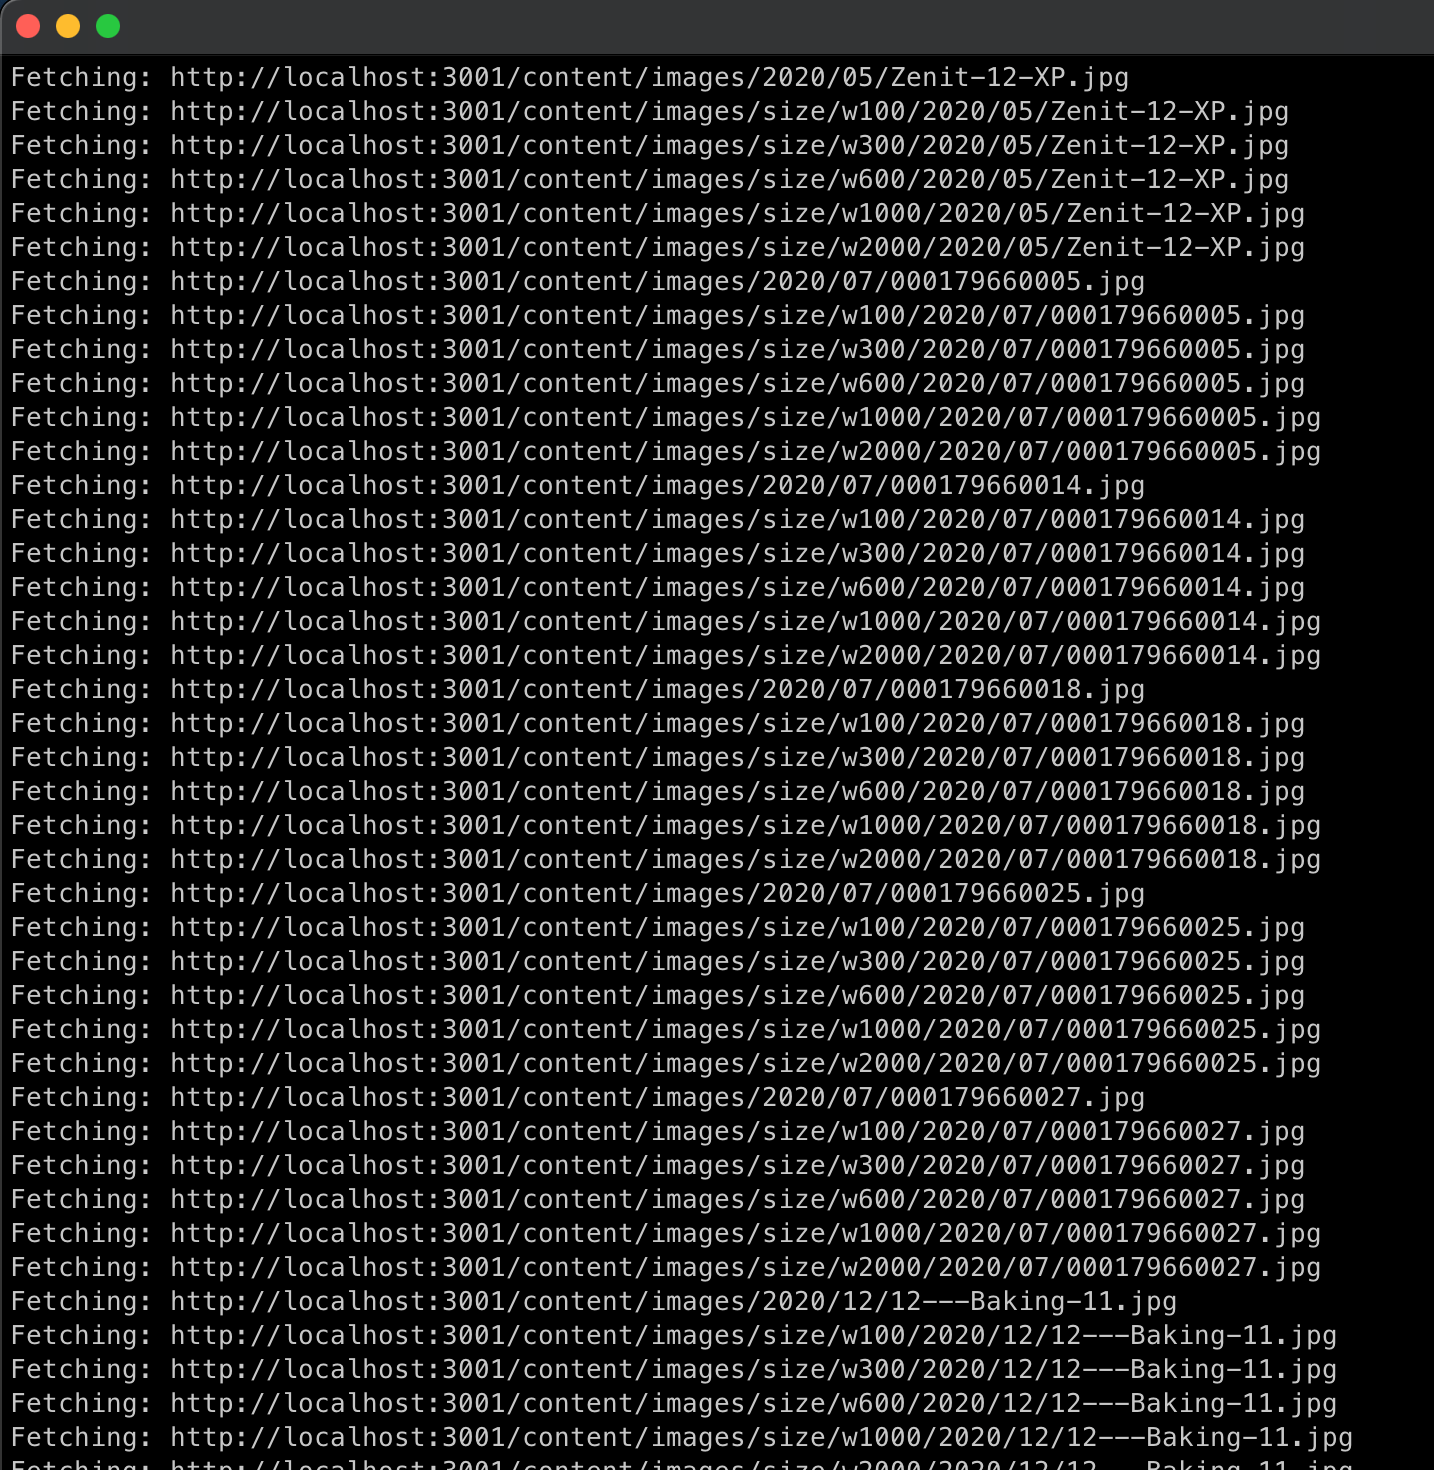
gssg --domain http://localhost:3002 --dest '/Users/steve/stuff/ghost-static' --url https://yourdomain.comYou should now see GSSG fetching a load of files and putting them in your static directory.

Uploading to the internet
You'll need some kind of static hosting service. I think Cloudflare Pages offers the best performance, ease of use and price, so I'll be using that. It's free for unlimited requests, bandwidth and sites, up to 500 builds per month ATTOW. You could also use something like GitHub Pages or Netlify.
Create a GitHub repo for your static site, then upload the contents of your static folder - by now this should contain an index.html, some xml files, and possibly a number of folders, depending on how much content you have.
Sign in to Cloudflare Pages
Go to the Cloudflare Pages site, and sign in with your Cloudflare account. If you do not have an account yet, you can sign up as you go.
Connect to GitHub
Signing in with GitHub allows Cloudflare Pages to deploy your projects, update your GitHub PRs with preview deployments, and more. After you sign in, select Create a project in the Pages dashboard.
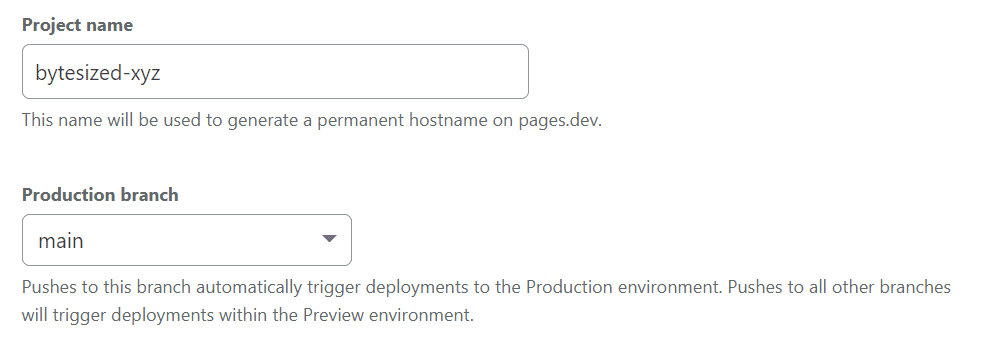
You'll then need to point Cloudflare Pages to the GitHub repo containing your static site, after which you can configure some settings such as which directory it should point at. If you've followed this tutorial closely, your static site should be stored in the root of the repo.

Once the first deployment has finished, you can also set up your own domain name.
That's it! You now have your writing hosted on one of the world's fastest content delivery networks, that can handle a virtually "unlimited" amount of traffic, for free.
Going further and optimising
Backups
If you ever want to spin up your local Ghost container, it's as simple as executing the docker run command from the start. However if you lose your content folder, then you'll lose all your posts and your ability to run your publication locally, so I strongly recommend you back it up.
Turning off dynamic features
As dynamic features of Ghost won't work for your users, I recommend turning as many of them off as possible. From the Ghost settings, you can head to memberships to turn off subscription access.

You can also pick a theme that optimises for content delivery, rather than for more dynamic features of Ghost.
Deleting posts
One small 'gotcha' is that if a post is deleted or renamed, the original will stay in your static folder. To get around this, ensure you periodically purge your static folder before regenerating it.
Database
The database used by the official Docker image is SQLite, which is fine for our use case. The database will live in your content-folder/data, so you can easily make changes to the data or back it up.
I hope you find this useful. Note, while I've been using it for a few months, I wouldn't rely on this workflow for anything critical.